Contents (10 sections)
In today’s world, a quality camera in your pocket can transform everyday moments into lasting memories. Whether you’re an amateur photographer or just want better pictures for your social media, knowing how to enhance your smartphone camera quality can significantly elevate your photography game. This guide will explore practical steps you can take to optimise your settings, utilise built-in features, and ensure you’re equipped with the right tools.
## H2: Understanding Your Smartphone Camera
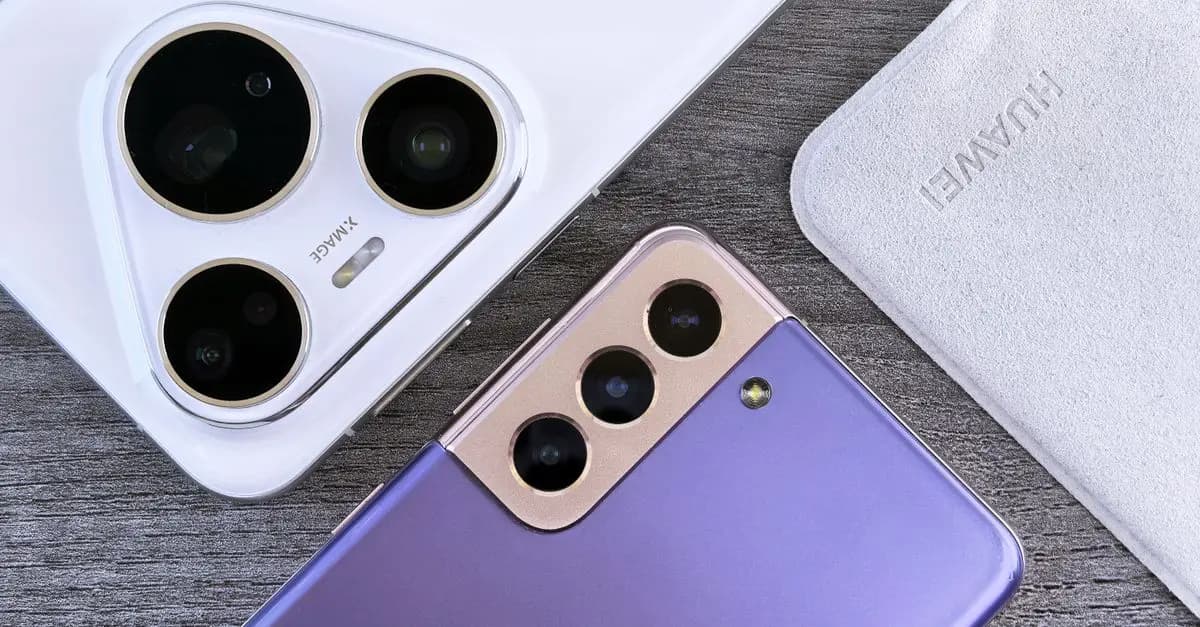
Before diving into optimisation techniques, it’s essential to understand the basics of your smartphone camera. Generally, smartphone cameras rely on a combination of software and hardware to deliver images. Most phones come with multiple lenses that allow for different shooting styles, from wide-angle to macro. Each smartphone brand often has its camera specifications and software features, which can greatly impact the image quality.
Modern smartphones usually have built-in features like HDR (High Dynamic Range), advanced lens focus, and noise reduction settings. For instance, a study by Gartner indicates that over 70% of users consider camera quality to be a crucial factor when purchasing a smartphone. Understanding these functionalities provides a solid foundation for making informed adjustments.
## H2: Step-by-Step Guide to Optimising Camera Settings
Step 1: Adjust Your Camera Settings
One of the first actions to enhance your smartphone camera quality is to adjust its settings for different lighting conditions. Start by accessing your camera settings through the camera app. Most smartphones allow you to adjust features such as resolution, aspect ratio, and ISO settings. Selecting the highest resolution is advisable for the best detail.
For instance, in low-light conditions, manually adjusting the ISO higher can help capture more light without requiring a flash, which can sometimes wash out images. Always remember to check if your phone has an auto-settings mode to make the camera adjustments easier.
Step 2: Utilise Gridlines and Composition Techniques
In photography, composition is king. Enabling gridlines in your camera settings can help you adhere to the rule of thirds—a composition principle that suggests dividing your frame into three equal sections both horizontally and vertically. Positioning key subjects along these gridlines or their intersections often results in more balanced images.
For instance, if you’re photographing a landscape, placing the horizon line along one of the horizontal gridlines can make for a more compelling image. This simple adjustment allows for a more visually appealing photograph by providing structure to your shots.
Step 3: Experiment with Different Shooting Modes
Many smartphones come equipped with several shooting modes designed for specific situations. These include night mode, portrait mode, and macro mode, each optimally using the camera’s capabilities. Using night mode can drastically improve image quality in low-light settings by capturing multiple frames to better process lighter areas.
Portrait mode, commonly used for photographing subjects, creates a depth-of-field effect, blurring the background to emphasise the subject. Experimenting with these modes can help you find the right settings tailored to your shooting needs.
Step 4: Post-Processing for Enhancements
Post-processing is an integral part of photography that shouldn’t be overlooked. After capturing your images, using photo editing apps can enhance your smartphone camera quality further. Applications like Snapseed or Adobe Lightroom allow you to edit exposure, contrast, and colour balance, transforming a good image into a great one.
According to data from Statista, more than 60% of smartphone users engage in some form of photo editing. Applying filters and adjustments post-capture can help refine your images to match your style, making even the simplest shots more visually appealing.
H2: Common Mistakes to Avoid
Recognising common mistakes can be just as crucial as knowing what to do. Overexposing your images due to high brightness can lead to lost details. Always evaluate your exposure settings before taking a shot, especially in bright environments. Additionally, neglecting to clean your camera lens is a frequent error that can cause photos to appear hazy or unfocused. A simple wipe with a soft cloth can significantly enhance clarity.
H2: Essential Tools for Smartphone Photography
Apart from optimising your camera settings, certain tools can enhance your smartphone photography experience. Consider investing in a compact tripod for steady shots, especially in low-light conditions. Additionally, lens attachments can provide additional capabilities, such as fisheye or telephoto effects for more dynamic compositions. Portable lighting options can also dramatically improve your images, allowing you to shoot better photos in darker locations.
H2: Checklist Before Your Next Shoot
To ensure you’re fully prepared, here’s a quick checklist:
- [ ] Check and adjust camera settings.
- [ ] Enable gridlines for better composition.
- [ ] Experiment with various shooting modes.
- [ ] Clean your lens before shooting.
- [ ] Consider tools for steadying and lighting your shots.
H2: Conclusion and Final Thoughts
Enhancing your smartphone camera quality doesn’t have to be an overwhelming task. By understanding your camera, utilising its settings, and implementing proper techniques, you can achieve stunning results. Always remember to experiment and find what works best for your photography style. With practice and the right approach, you'll unlock your smartphone's full potential!
💡 Expert Opinion: Engaging in photography is not simply about the device; it’s about understanding light, composition, and perspective. Always seek to continue learning and experimenting!
Glossary
| Terme | Définition |
|---|---|
| ISO | La sensibilité du capteur à la lumière, influençant l'exposition. |
| HDR | High Dynamic Range, une technique capturant une large gamme de luminosité. |
| Règle des tiers| Une méthode composante pour améliorer l'équilibre visuel d'une photo.
📺 Ressource Vidéo
> [Learn Smartphone Photography Techniques], a comprehensive analysis of techniques for better smartphone photography. Search on YouTube: how to enhance smartphone camera quality 2026.
Recommended Products
-
📺 Pour aller plus loin : how to enhance smartphone camera quality 2026 sur YouTube
Recommended products
Selected by our experts


StarTech.com 0.3m (1ft) Short High Speed HDMI Cable - Ultra HD 4k x 2k HDMI Cable - HDMI to HDMI M/M
Back to the Office


Viewsonic VG Series VG2757V-2K computer monitor 68.6 cm (27") 2560 x 1440 pixels Quad HD LED Black
Back to the Office

Viewsonic VG3457CV computer monitor 86.4 cm (34") 3440 x 1440 pixels UltraWide Quad HD LED Black
Back to the Office